# Acurite Weather Station Installation Guide
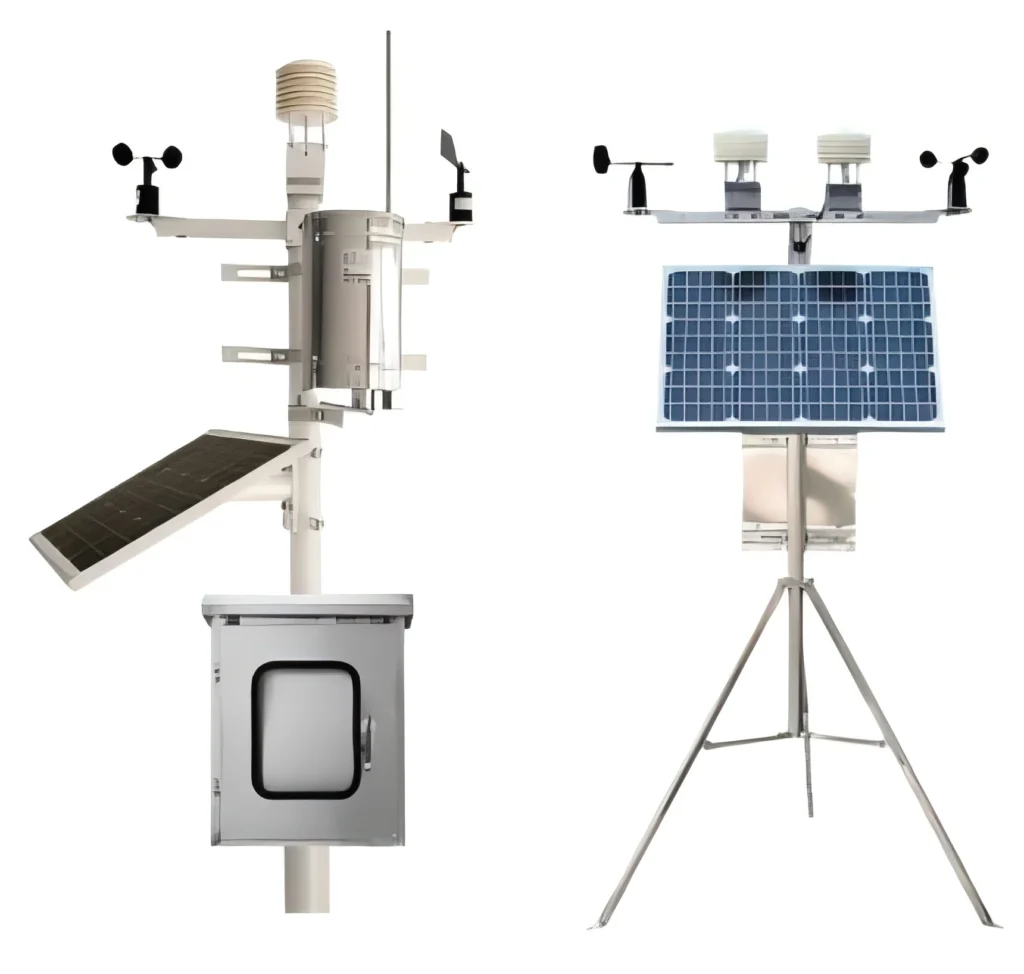
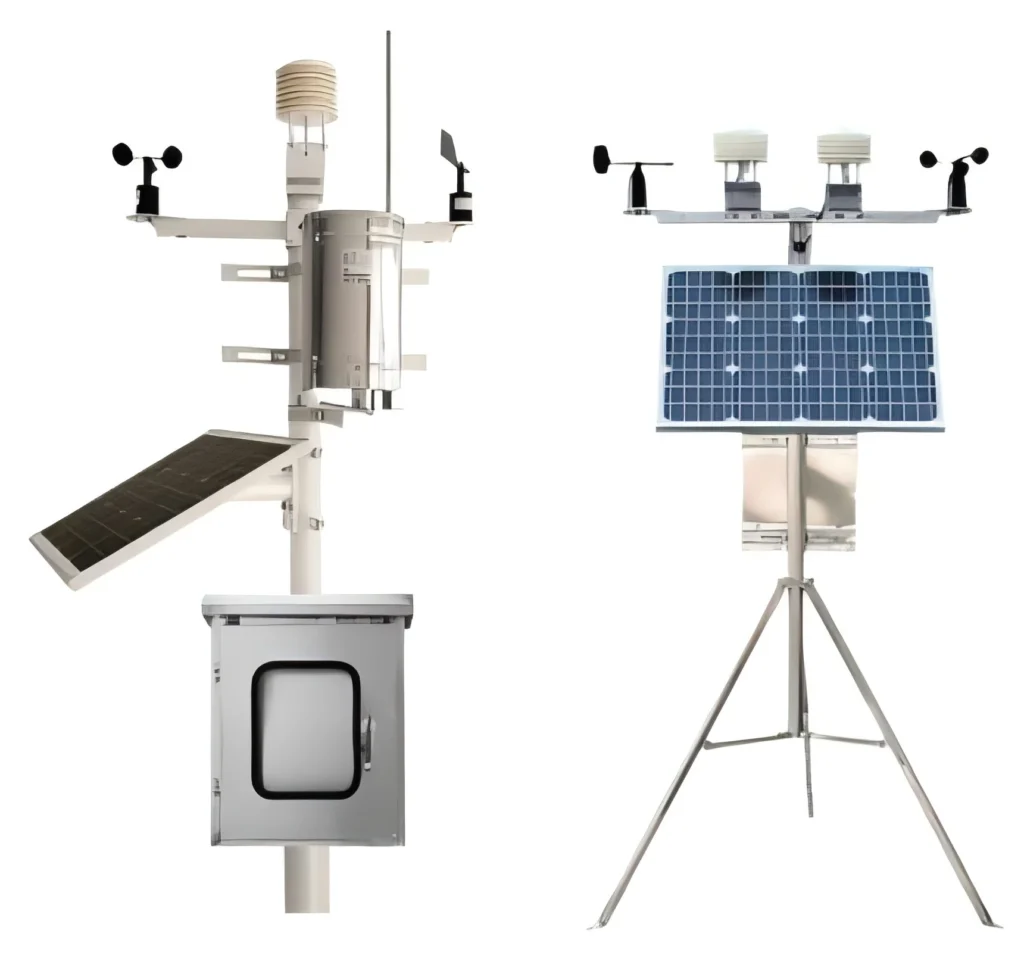
Installing an Acurite weather station can be a rewarding experience, allowing you to monitor local weather conditions with precision. Whether you’re a weather enthusiast or simply want to keep track of your local climate, this guide will walk you through the installation process step by step.
## Choosing the Right Location
Before you start the installation, it’s crucial to select the right location for your Acurite weather station. The placement of your weather station can significantly impact the accuracy of the data it collects.
### Outdoor Sensor Placement
The outdoor sensor should be placed in an open area, away from obstructions like trees, buildings, or walls. Ideally, it should be mounted at a height of 5 to 6 feet above the ground to avoid interference from ground heat and to ensure accurate temperature readings.
### Indoor Display Placement
The indoor display should be placed in a location where it’s easily accessible and visible. Avoid placing it near heat sources, such as radiators or direct sunlight, as this can affect the accuracy of the indoor temperature readings.
## Unboxing and Preparing Your Acurite Weather Station
Once you’ve chosen the perfect location, it’s time to unbox your Acurite weather station and prepare it for installation.
### What’s in the Box?
– Outdoor sensor
– Indoor display unit
– Mounting hardware
– User manual
– Batteries (usually included)
### Inserting Batteries
Start by inserting the required batteries into both the outdoor sensor and the indoor display unit. Make sure to follow the polarity markings to avoid damaging the devices.
## Mounting the Outdoor Sensor
Mounting the outdoor sensor correctly is essential for accurate weather readings.
### Step 1: Attach the Mounting Bracket
Use the provided screws to attach the mounting bracket to a stable surface, such as a wall or a pole. Ensure that the bracket is securely fastened to prevent the sensor from falling.
### Step 2: Attach the Sensor to the Bracket
Once the bracket is in place, attach the outdoor sensor to it. Make sure it’s firmly secured and positioned according to the guidelines mentioned earlier.
## Setting Up the Indoor Display
With the outdoor sensor in place, it’s time to set up the indoor display.
### Step 1: Power On the Display
Insert the batteries into the indoor display unit and power it on. The display should automatically start searching for the outdoor sensor’s signal.
### Step 2: Pairing the Sensor
If the display doesn’t automatically detect the sensor, you may need to manually pair them. Refer to the user manual for specific instructions on how to do this.
## Calibrating Your Weather Station
Calibration ensures that your Acurite weather station provides the most accurate readings possible.
### Temperature Calibration
Compare the temperature readings from your weather station with a trusted thermometer. If there’s a discrepancy, adjust the calibration settings on the indoor display unit.
### Humidity Calibration
Similarly, compare the humidity readings with a reliable hygrometer. Adjust the calibration settings if necessary.
## Troubleshooting Common Issues
Even with proper installation, you might encounter some issues. Here are a few common problems and their solutions.
### No Signal from Outdoor Sensor
Ensure that the outdoor sensor is within the specified range of the indoor display. Check the batteries and make sure they’re properly inserted.
### Inaccurate Readings
Double-check the placement of both the outdoor sensor and the indoor display. Ensure they’re not near any heat sources or obstructions that could affect the readings.
## Conclusion
Installing an Acurite weather station is a straightforward process that can provide you with valuable weather data. By following this guide, you can ensure that your weather station is set up correctly and functioning optimally. Enjoy monitoring your local weather conditions with confidence!
Keyword: acurite weather station installation
